What you’ll need:
-Sharpie Pen
-Power Drill/Driver
-Jigsaw/Sawzall/Handsaw
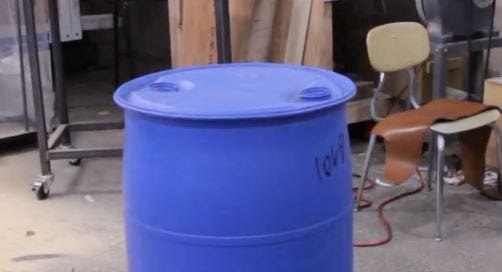
-50gal blue plastic drum (clean)
- 1” screws (14)
-Large washers
-Nylon Strap
-Measuring Tape
50gal blue plastic drums can be found used on classified marketplaces for $20-$30 each. Get one, and find a safe area to cut it apart and start the build.
Use quality screws, be careful not to over tighten as to destroy the plastic as you affix to wood. The plastic should be pinched well, but if your drill torque is too high you could expand the plastic holes, weakening your build. Cedar is lighter than other lumber choices, but more prone to cracking, predrill your holes at half the thickness of your screw threads to avoid damage.
The circular ends of the barrel provide the strongest shapes for making shields, you can also double them up and sandwich them over your lumber, which would make your shield extremely strong. One layer will stop a rubber bullet or beanbag, and repel baton strikes perfectly well, so the choice is yours to modify how you wish.
The middle sections of the barrel can also provide adequate shield material but more reinforcement is needed at the outer edges. If done right, 1 barrel can make 5 shields.
Here we will just build 1 out of one end of the barrel.
Step 1:
Measure 3 inches from the lip of the barrel end and make a mark in sharpie pen all the way around the barrel that fully connects. You will follow this guide line when you cut.
Step 2:
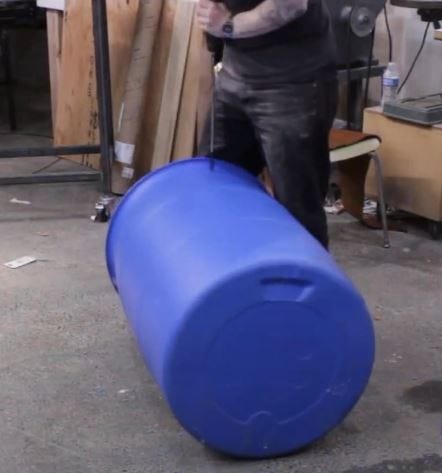
Place the barrel on its side and secure it from moving while you make a starting hole with a large drill bit that will allow your saw blade inside to start the cut.
Step 3:
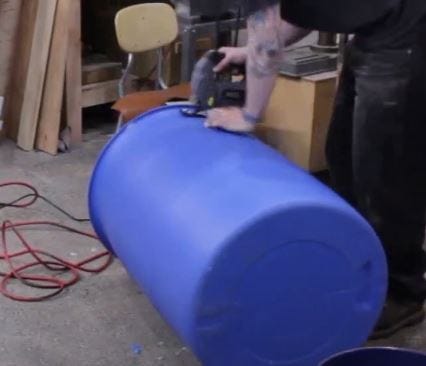
Follow your guideline and carefully cut the entire circumference of the barrel, stopping when needed to reposition so the cutting area is always in a safe and easiest position to continue the cut.
Step 4:
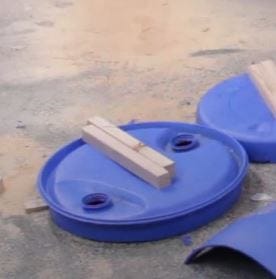
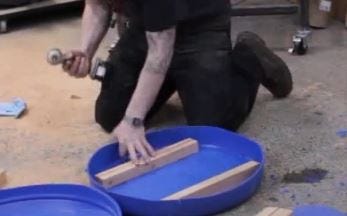
Measure the inside of the circular end at 1/4 from edge and cut 2 pieces of 2x4 lumber to fit inside the lip with space for your arm to fit between them, while snug up against the inside of the lip to provide reinforcement across the maximum amount of surface.
Step 5:
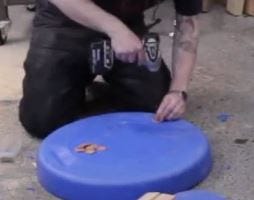
Place the lumber inside the lip and drill one pilot hole to secure the lumber in place with a screw and washer so that it may be flipped upside down and secured easily with the remaining screws. (5 screws per piece is recommended)
Step 6:
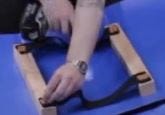
Measure the gap between the outer edges of each 2x4 and cut 2 lengths of thick nylon or leather strapping so that there is a little excess of the measurement, 2 or 3 inches should do, but you can always leave longer and test fit and adjust, you cant add material if you cut too much at first, you will then need extra length of strap to retry. (the slack will allow your arm to fit inside the loop)
Attach straps with screws and washers.
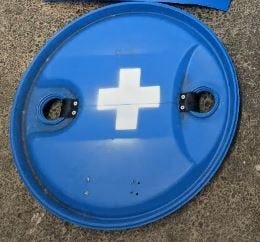
Your shield is done!
If you know of others who wish to stand in the streets with you and fight for freedom, you may wish to use the rest of the barrel wisely and make those extra 4 shields and give them to others. The stronger those around you are, the stronger you are.
ALWAYS use appropriate safety gear and ensure that you know how to safely operate power tools.
We take no responsibility for anyone hurt during the construction of these shields, nor do we guarantee the effectiveness.
Make and use at your own risk.
